> ## Documentation Index
> Fetch the complete documentation index at: https://docs.thig.ai/llms.txt
> Use this file to discover all available pages before exploring further.
# Team Management
> Manage your organization, team members, and roles
# Team Management
Organize your team with roles, manage members, and configure organization-wide settings.
## Organization Roles
| Role | Description |
| ---------- | ----------------------------------------------------------------------- |
| **Owner** | Full access — billing, settings, member management, delete organization |
| **Admin** | Manage members, templates, settings (no billing or org deletion) |
| **Member** | Create and manage own projects |
| **Viewer** | Read-only access to shared projects |
## Managing Members
### Team Page (`/admin/team`)
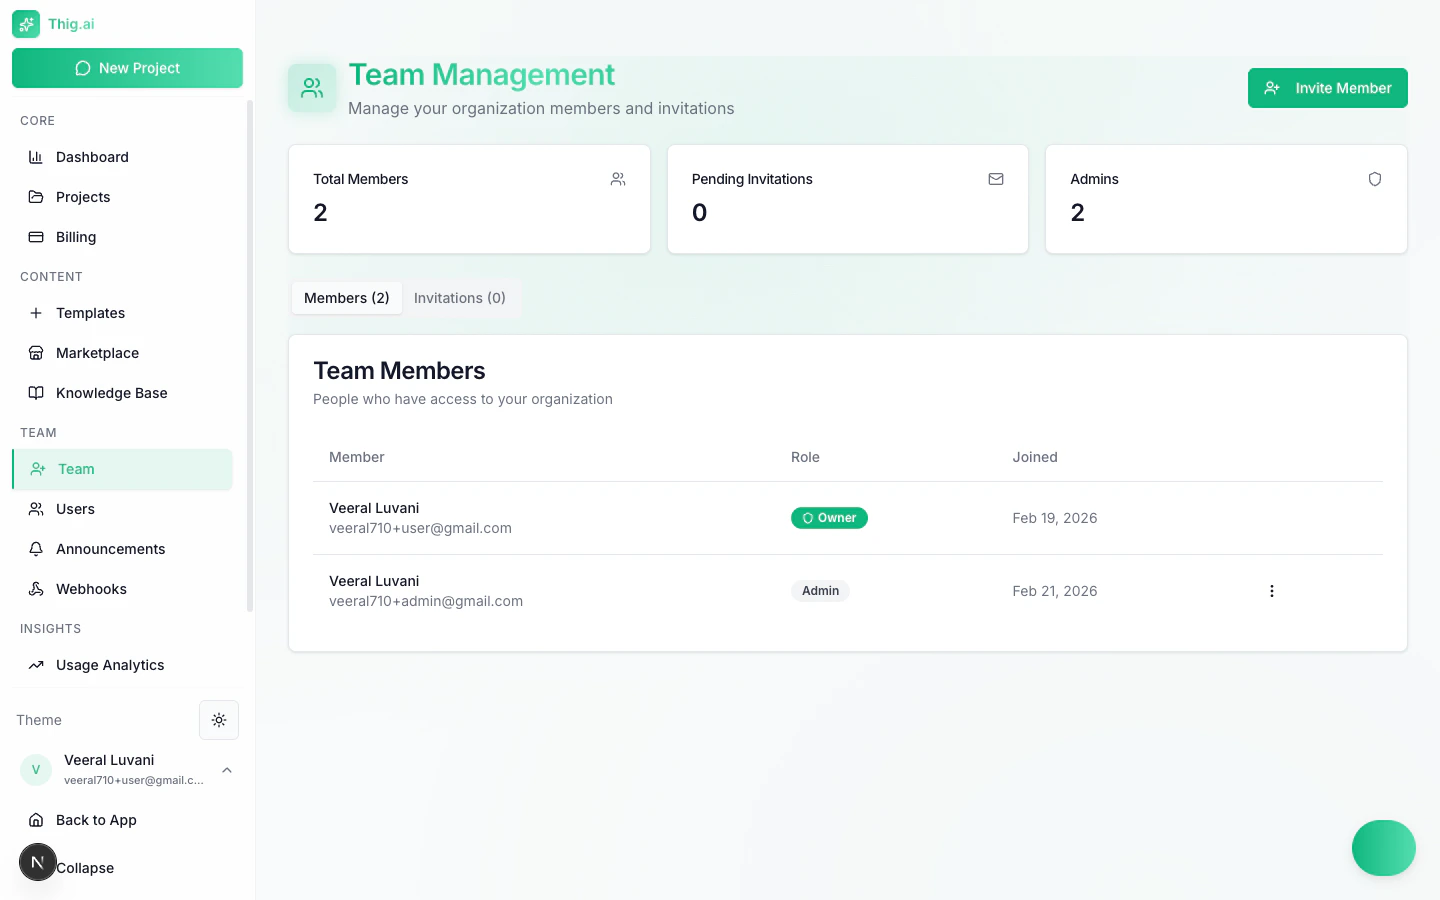 The Team Members tab shows:
* Member name and email
* Role badge (Owner/Admin/Member/Viewer)
* Join date
* Action menu
### Changing Roles
1. Click the action menu on a member
2. Select **Change Role**
3. Choose Admin, Member, or Viewer
Only owners can manage billing and delete the organization. The owner role cannot be changed from this interface.
### Removing Members
1. Click the action menu on a member
2. Select **Remove**
3. Confirm in the dialog
The member loses access immediately but their created projects remain in the organization.
## Inviting Members
1. Go to the **Invitations** tab on the Team page
2. Enter the invitee's email
3. Select their role (Admin, Member, or Viewer)
4. Click **Send Invitation**
The invitee receives an email with an acceptance link. You can track invitation status:
| Status | Meaning |
| ------------ | ------------------------- |
| **Pending** | Sent but not yet accepted |
| **Accepted** | Joined the organization |
| **Expired** | Invitation link expired |
| **Revoked** | Manually cancelled |
You can **resend** or **revoke** pending invitations at any time.
## Users Page (`/admin/users`)
For admins who need to manage users directly:
* Search users by name or email
* View project count per user
* Add users directly (bypasses invitation flow)
* Edit user roles
* Remove users
## Feature Access Control
The Team Members tab shows:
* Member name and email
* Role badge (Owner/Admin/Member/Viewer)
* Join date
* Action menu
### Changing Roles
1. Click the action menu on a member
2. Select **Change Role**
3. Choose Admin, Member, or Viewer
Only owners can manage billing and delete the organization. The owner role cannot be changed from this interface.
### Removing Members
1. Click the action menu on a member
2. Select **Remove**
3. Confirm in the dialog
The member loses access immediately but their created projects remain in the organization.
## Inviting Members
1. Go to the **Invitations** tab on the Team page
2. Enter the invitee's email
3. Select their role (Admin, Member, or Viewer)
4. Click **Send Invitation**
The invitee receives an email with an acceptance link. You can track invitation status:
| Status | Meaning |
| ------------ | ------------------------- |
| **Pending** | Sent but not yet accepted |
| **Accepted** | Joined the organization |
| **Expired** | Invitation link expired |
| **Revoked** | Manually cancelled |
You can **resend** or **revoke** pending invitations at any time.
## Users Page (`/admin/users`)
For admins who need to manage users directly:
* Search users by name or email
* View project count per user
* Add users directly (bypasses invitation flow)
* Edit user roles
* Remove users
## Feature Access Control
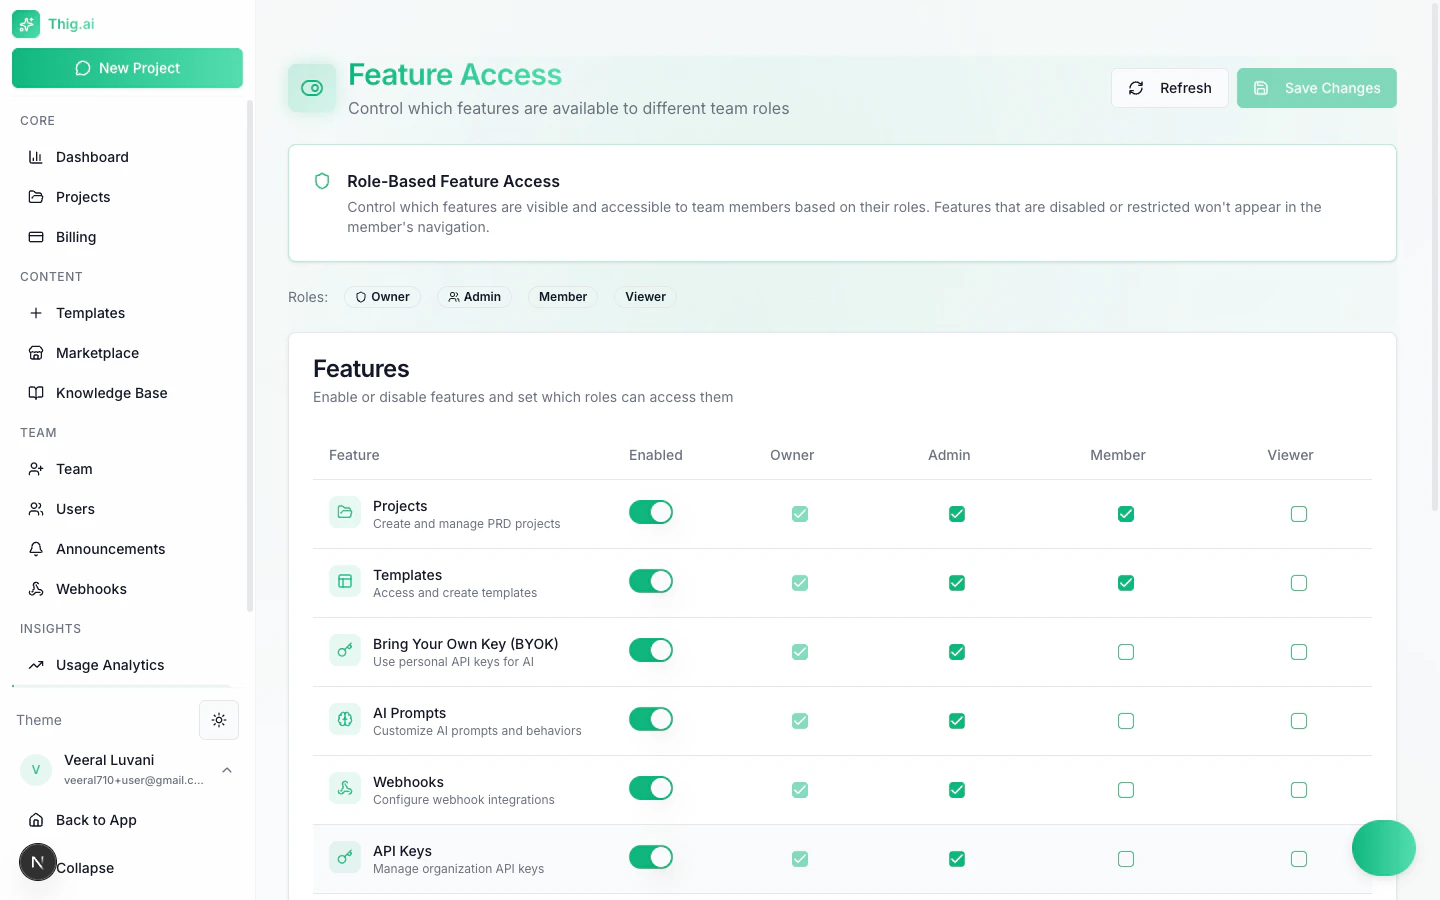 Control which features are available to which roles at **Feature Access** (`/admin/features`):
* Toggle features on/off entirely
* Set per-role access (Owner, Admin, Member, Viewer)
* Available features include: Projects, Templates, BYOK, Webhooks, Analytics, Export formats, Custom Domain, and more
## Announcements
Control which features are available to which roles at **Feature Access** (`/admin/features`):
* Toggle features on/off entirely
* Set per-role access (Owner, Admin, Member, Viewer)
* Available features include: Projects, Templates, BYOK, Webhooks, Analytics, Export formats, Custom Domain, and more
## Announcements
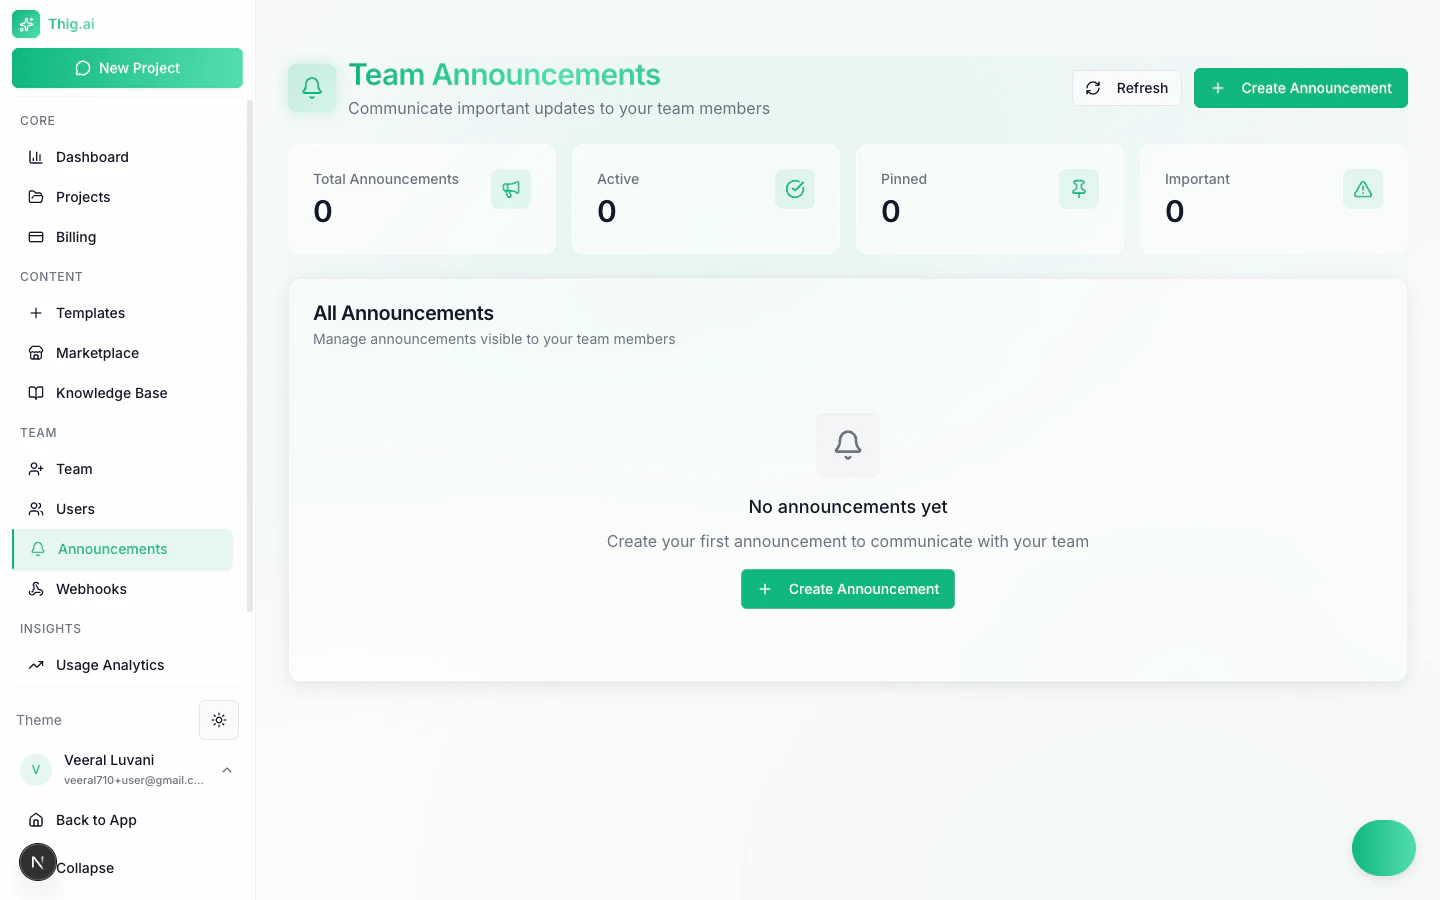 Communicate with your team via the **Announcements** page (`/admin/notifications`):
### Creating Announcements
* **Types**: Info, Warning, Success, Error, Announcement
* **Fields**: Title, message, type, pinned toggle, expiration date
* Pinned announcements always show at the top of the dashboard
Announcements appear as banners on the admin dashboard for all team members.
Communicate with your team via the **Announcements** page (`/admin/notifications`):
### Creating Announcements
* **Types**: Info, Warning, Success, Error, Announcement
* **Fields**: Title, message, type, pinned toggle, expiration date
* Pinned announcements always show at the top of the dashboard
Announcements appear as banners on the admin dashboard for all team members.